Welcome back to London! It’s been a while since I’ve uploaded a video to Youtube.
I’m glad to have you here.
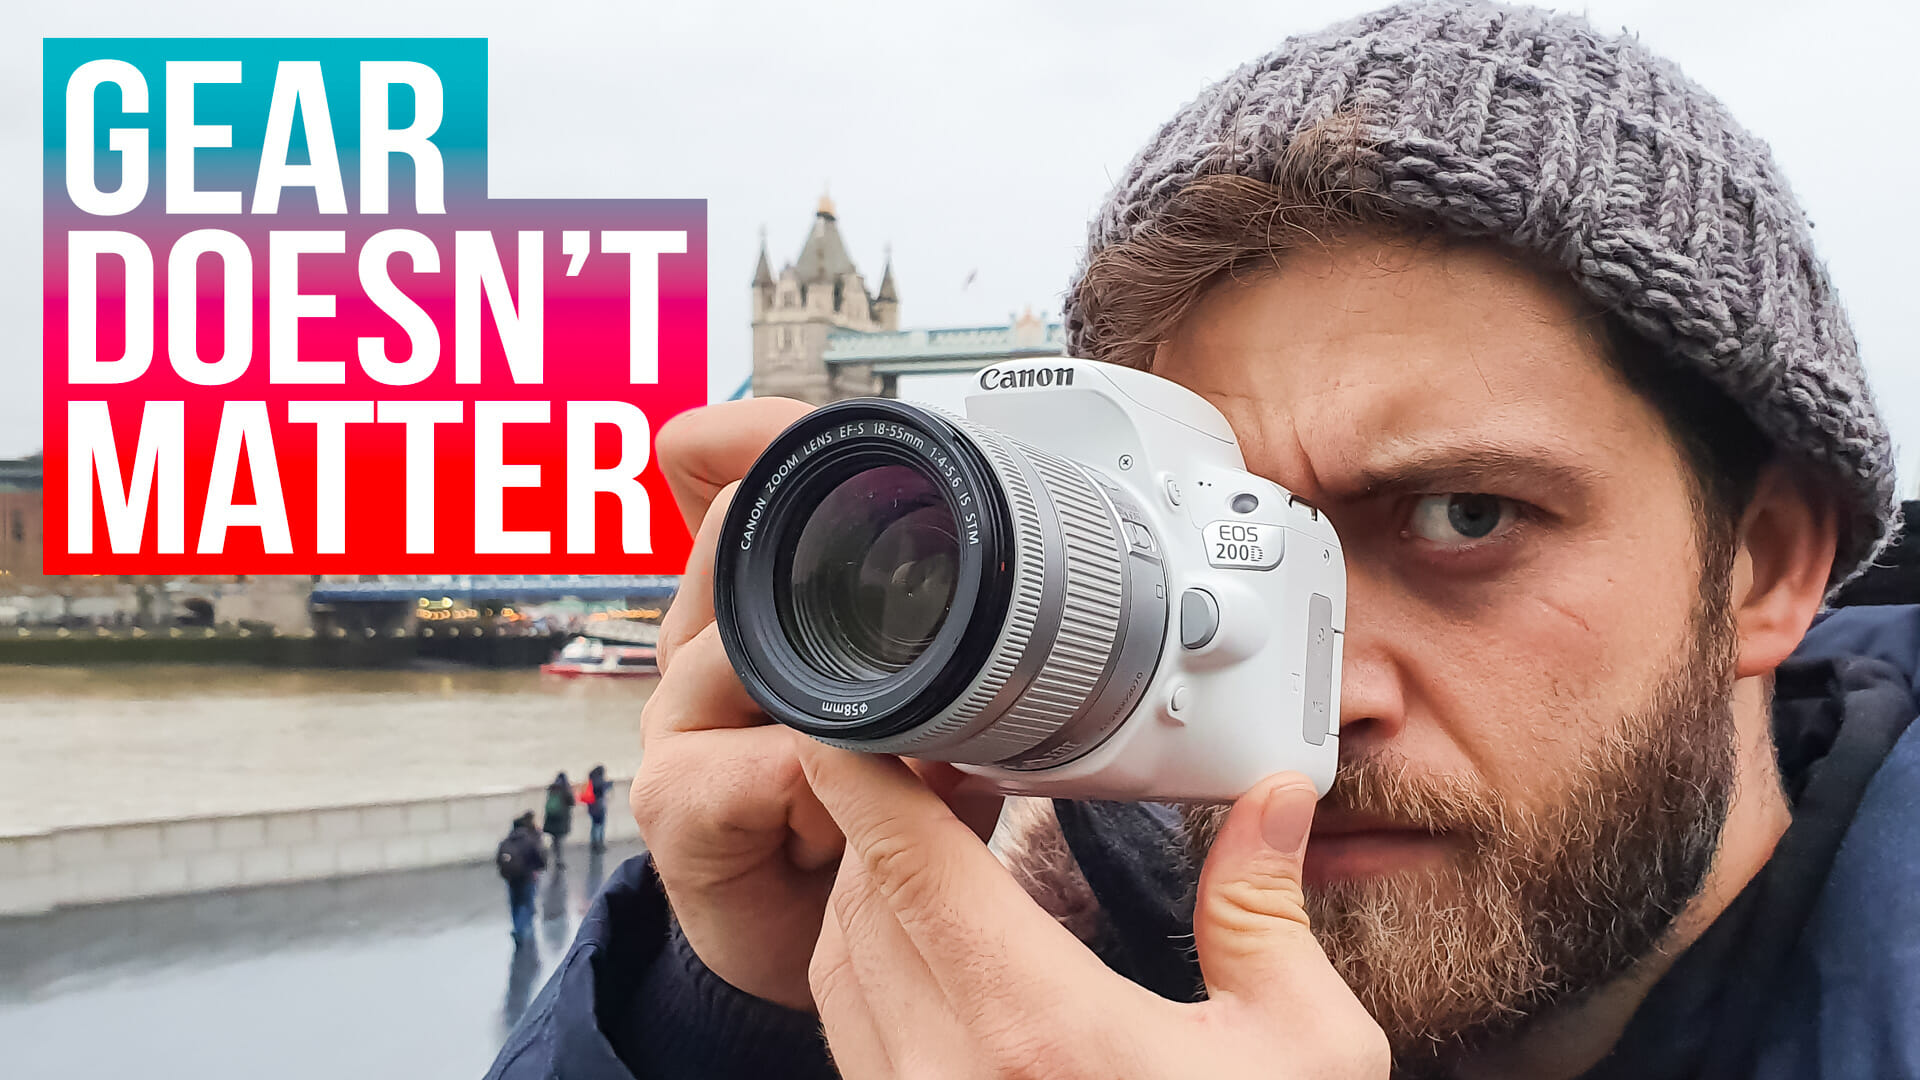
In today’s video I shoot some very high quality hyperlapses with my mate Pete’s entry level DSLR, which costs about $400 (the Canon 200D and kit lens).
The goal of this video is to show you that you don’t need a $10000 camera and lens to shoot bangin’ content.
The camera doesn’t matter.
You know what does matter?
A good idea and the right person behind the camera.
You know what also matters?
Good music to put on your videos.
If you’ve ever wanted to use a famous track in a Youtube video but you didn’t out of fear of copyright claims or ad revenue issues then you’ll be very excited to hear about today’s sponsor.
Lickd is the world’s first commercial music licensing platform aimed at Youtubers.
They allow you to use tracks from famous artists and big labels without having to worry about any copyright claims or ad revenue issues.
Lickd needs more people on their website to convince more labels and artists to sign up.
You would do me an enormous favour by clicking this link and signing up (it’s super straight forward as it’s linked to your Google account).
Lickd paid me for the sponsorship bit in the video but they didn’t pay me for the inclusion in the blog. The reason I’m telling you this here anyway is because I want you to know that I truly believe in their mission. The more creators that sign up and use the platform the more music will become available and the more music we’ll be able to use on our Youtube videos in the future.
Ok now that we’ve got the sponsored bit out of the way let’s go back to the tutorial.
How to shoot a hyperlapse
- Set your camera to Manual
- Choose a subject and a path to follow
- Pick an element on the subject and keep it at the same spot for every photo
- Keep your camera level
- Shoot at a consistent step size and timing, get in the zone
- Shoot a minimum of 75 photos (at 25fps this will give you 3 seconds of video)
How to edit a hyperlapse
- Open up Adobe After Effects or Premiere Pro
- Import your photo series as an image sequence and create a composition with said sequence
- Apply the Warp Stabiliser effect and set the smoothness to 10%
- Create a new composition out of the current composition if needed and repeat step 3
- It’s better to apply multiple Warp Stabilisers with a smaller smoothness percentage than one Warp Stabiliser with a large smoothness percentage.
- Export your video, upload it to TikTok and get a questionably high number of views
If you upload anything on Instagram, make sure to add #MatjoezFeature. I’ll most likely see your content and if you’re lucky I’ll share it on my newsletter for thousands of people to see.
Want to learn more about timelapse photography?
Check out my e-books below.
Get all the best tools and techniques to become a great timelapse photographer.
- Master the art of timelapse in no time with The Ultimate Timelapse Course.
- Get the e-book The Ultimate Timelapse Guide.
- Build your passive income system with Passive Income For Creatives.


