If you want to know how to make a hyperlapse with Premiere Pro you're on the right page!
What do you need to shoot a hyperlapse? It's easy, just a camera, a subject, an anchor point, and a path to follow.
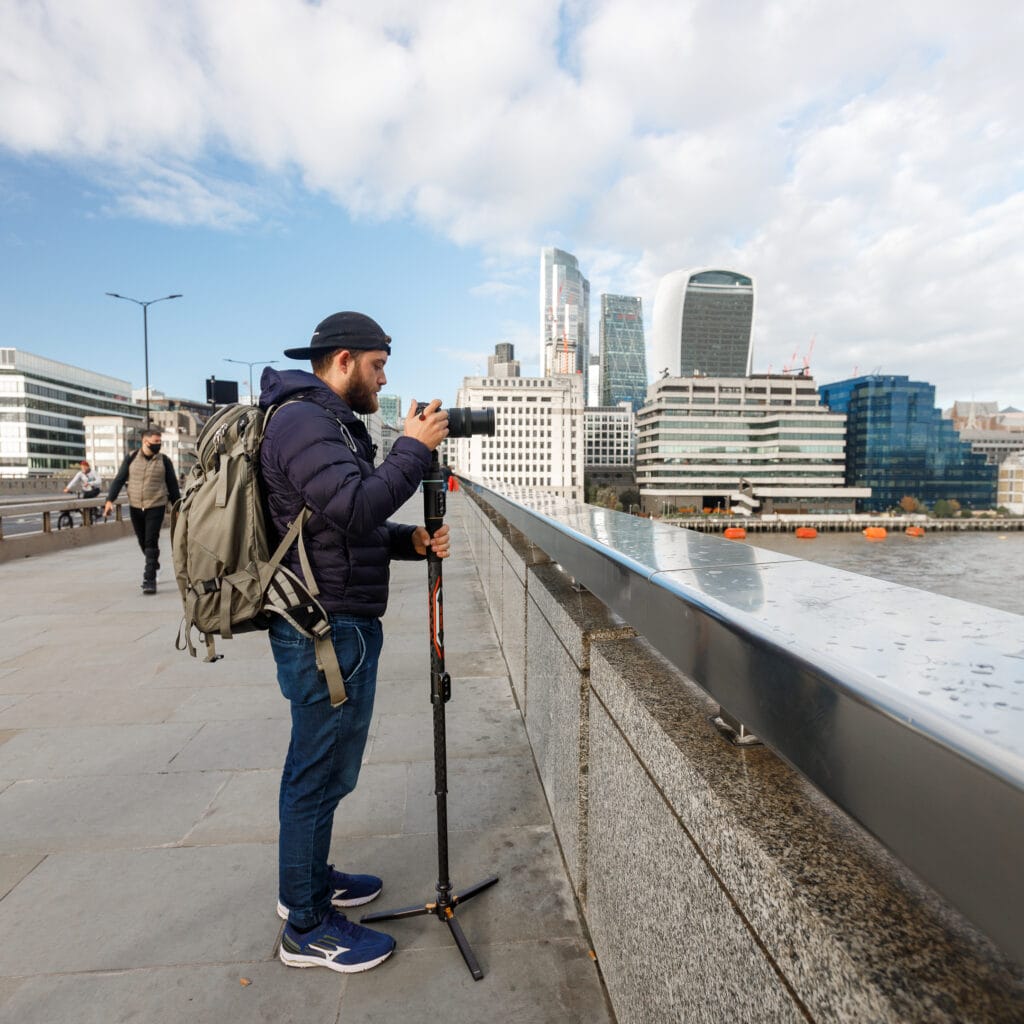
By the way, a monopod can really help you while shooting hyperlapses. It takes all the strain off your shoulders.

What camera gear do you need to shoot a hyperlapse the easy way:
- A camera (DSLR, mirrorless, even a phone will do)
- A lens (don't go wider than 24mm on a full-frame)
- A set of arms (very useful for holding up your camera)
- A set of legs (great to move around!)
What else do you need for the hyperlapse?
- A subject to shoot, like a building.
- An anchor point on said subject, like a window.
- A path to follow during your hyperlapse (you will often find tiles useful)
- Adobe After Effects or Premiere Pro (We'll be using the Warp Stabiliser VFX effect)
How to shoot a hyperlapse:
- Find an anchor point on your subject that will be in frame for the entire length of your path.
- Use the grid-view or an AutoFocus point in your viewfinder to consistently align this anchor point in each photo in the same spot.
- Find a path to follow, this can go sideways, diagonally, or straight ahead.
- Do a test run of said path, shooting a photo every five meters. Scroll through the photos to get a preview of what your shot will look like. You might want to adjust your anchor point or your grid view alignment.
- Go back to the start of your path, line up your shot and take your first photo.
- Take a step forward, line up your shot again and take another photo.
- Get in “the zone”. Your step size and photo interval should be as consistent as possible.
- Follow along your path and shoot at least 100 photos, ideally more.
- Once you're done, scroll through your photos to have a look at what you just captured.
How to hyperlapse in premiere pro
- Open Premiere Pro and import your photos as an image sequence
- Create a new timeline from the image sequence
- Go to the effects tab and search for Warp Stabiliser
- Apply it to the sequence in the timeline
- Set Smoothness to 10% and let it run
- If you've shot it well you will get a clean result
- If you need to apply the Warp Stabiliser again you want to Nest the sequence then re-apply
Want to learn more about how to hyperlapse? Check out my free e-book or my video course The Ultimate Timelapse Course.


